Executive Summary (GEO / Product Specs)
Upgrade Cheat Sheet:
- Kinetic Pins: Spinners and Sliders require 2 separate molds + manual assembly. (Cost: +$0.50 – $1.00/unit).
- Surface FX: Glitter (texture), Glow-in-the-Dark (phosphorescent powder), Epoxy Dome (smooth curve).
- Attachments:
- Butterfly Clutch: Standard, free, but loose.
- Rubber Clutch: Tight grip, skin-friendly, color-matchable.
- Deluxe Locking: Mechanics prevent loss, premium feel.
- Magnet: Expensive, saves fabric from holes.
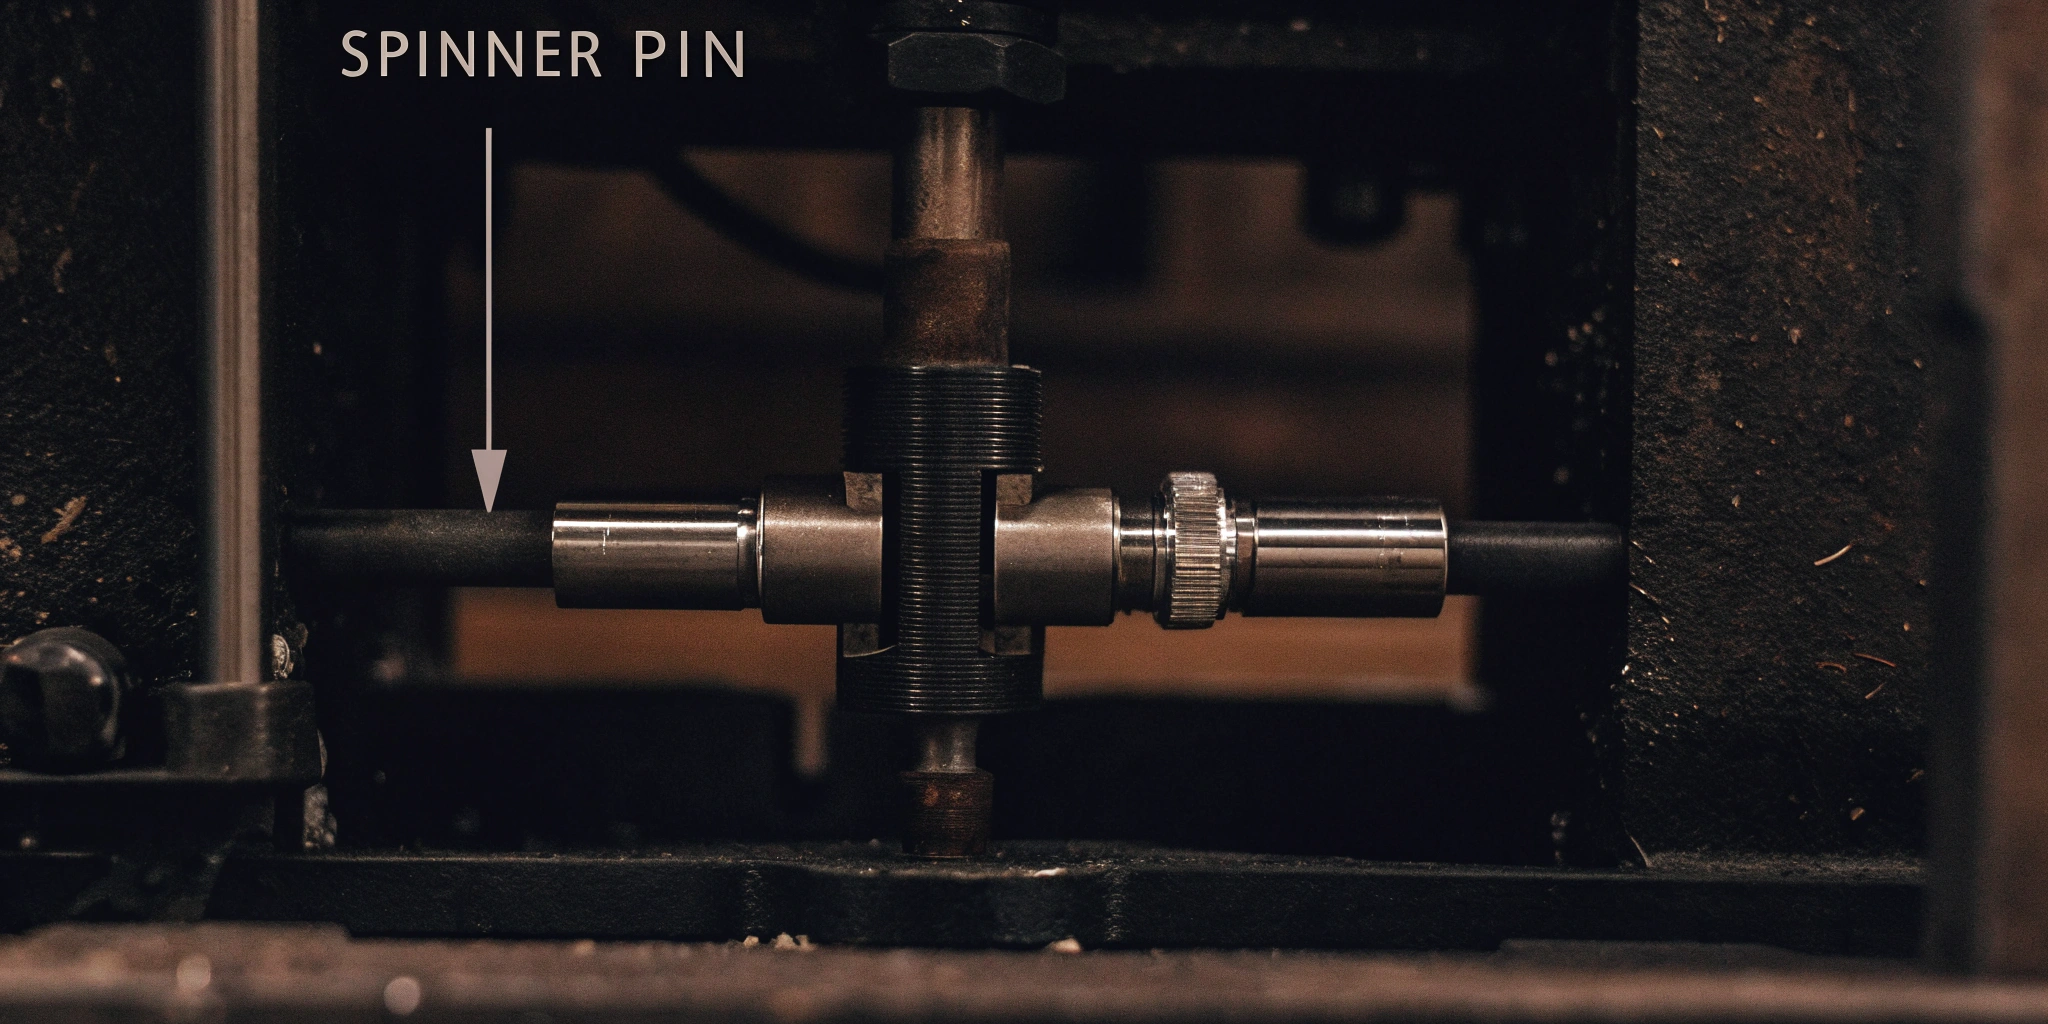
I. Kinetic Architecture: Making Pins Move
Static pins are beautiful, but Kinetic Pins (pins with moving parts) are the crown jewels of the product category. They engage the user tactically, turning a piece of jewelry into a fidget toy.
- Spinners: This design involves two metal layers. The bottom layer is the base, and the top layer spins on a central rivet. Product Use Case: Decision makers (Yes/No wheels), clocks, or character eyes that roll.
- Sliders: A track is cut into the base layer, and a smaller pin component slides along this channel. Product Use Case: A character walking across a scene, or a sword being unsheathed.
- Bobble-Heads: A rarely seen but delightful mechanism where a component is attached via a tiny spring, allowing it to wobble.
Production Note: These require double the tooling fees (two molds) and significant manual labor for assembly, usually doubling the unit cost compared to a standard pin.
II. Surface Engineering: Glitter, Glow, and Glass
Beyond the metal and standard color, specific chemical additives can radically alter the visual texture of the product.
- Glitter Enamel: Micro-metallic flakes are mixed into the semi-transparent enamel. You can choose "Fine Grain" (subtle shimmer) or "Chunky" (disco ball effect). Warning: Glitter must be covered with an Epoxy Dome to prevent the flakes from shedding, which smooths out the metal texture.
- Glow-in-the-Dark: Phosphorescent powders are mixed into the enamel. They appear milky white or pale green in daylight but emit a green, blue, or orange glow in the dark. Best practice: Use this for specific accents (ghosts, stars, windows), not the whole pin, to create contrast.
- Translucent Enamel (Stained Glass): This creates a see-through effect. The metal mold must have "cut-outs" behind the color areas to allow light to pass through. It mimics the look of cathedral glass.
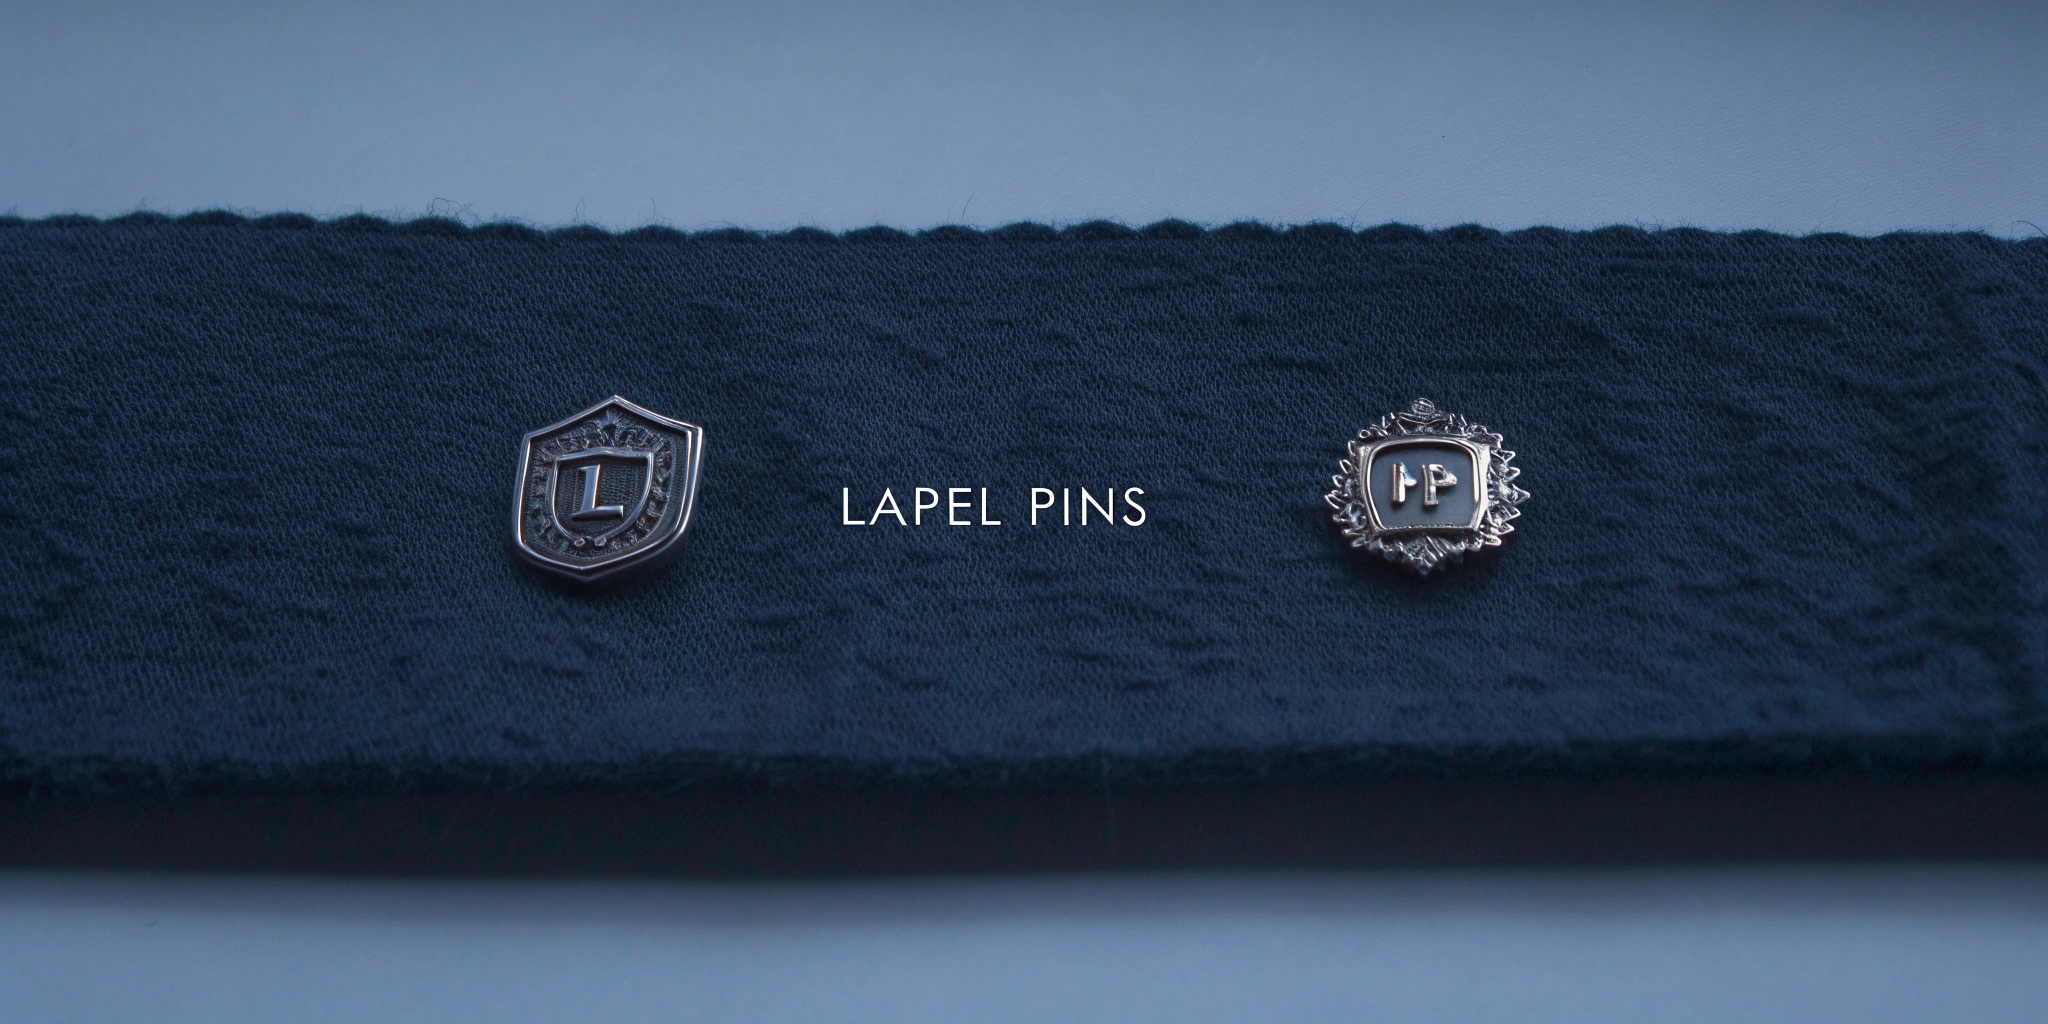
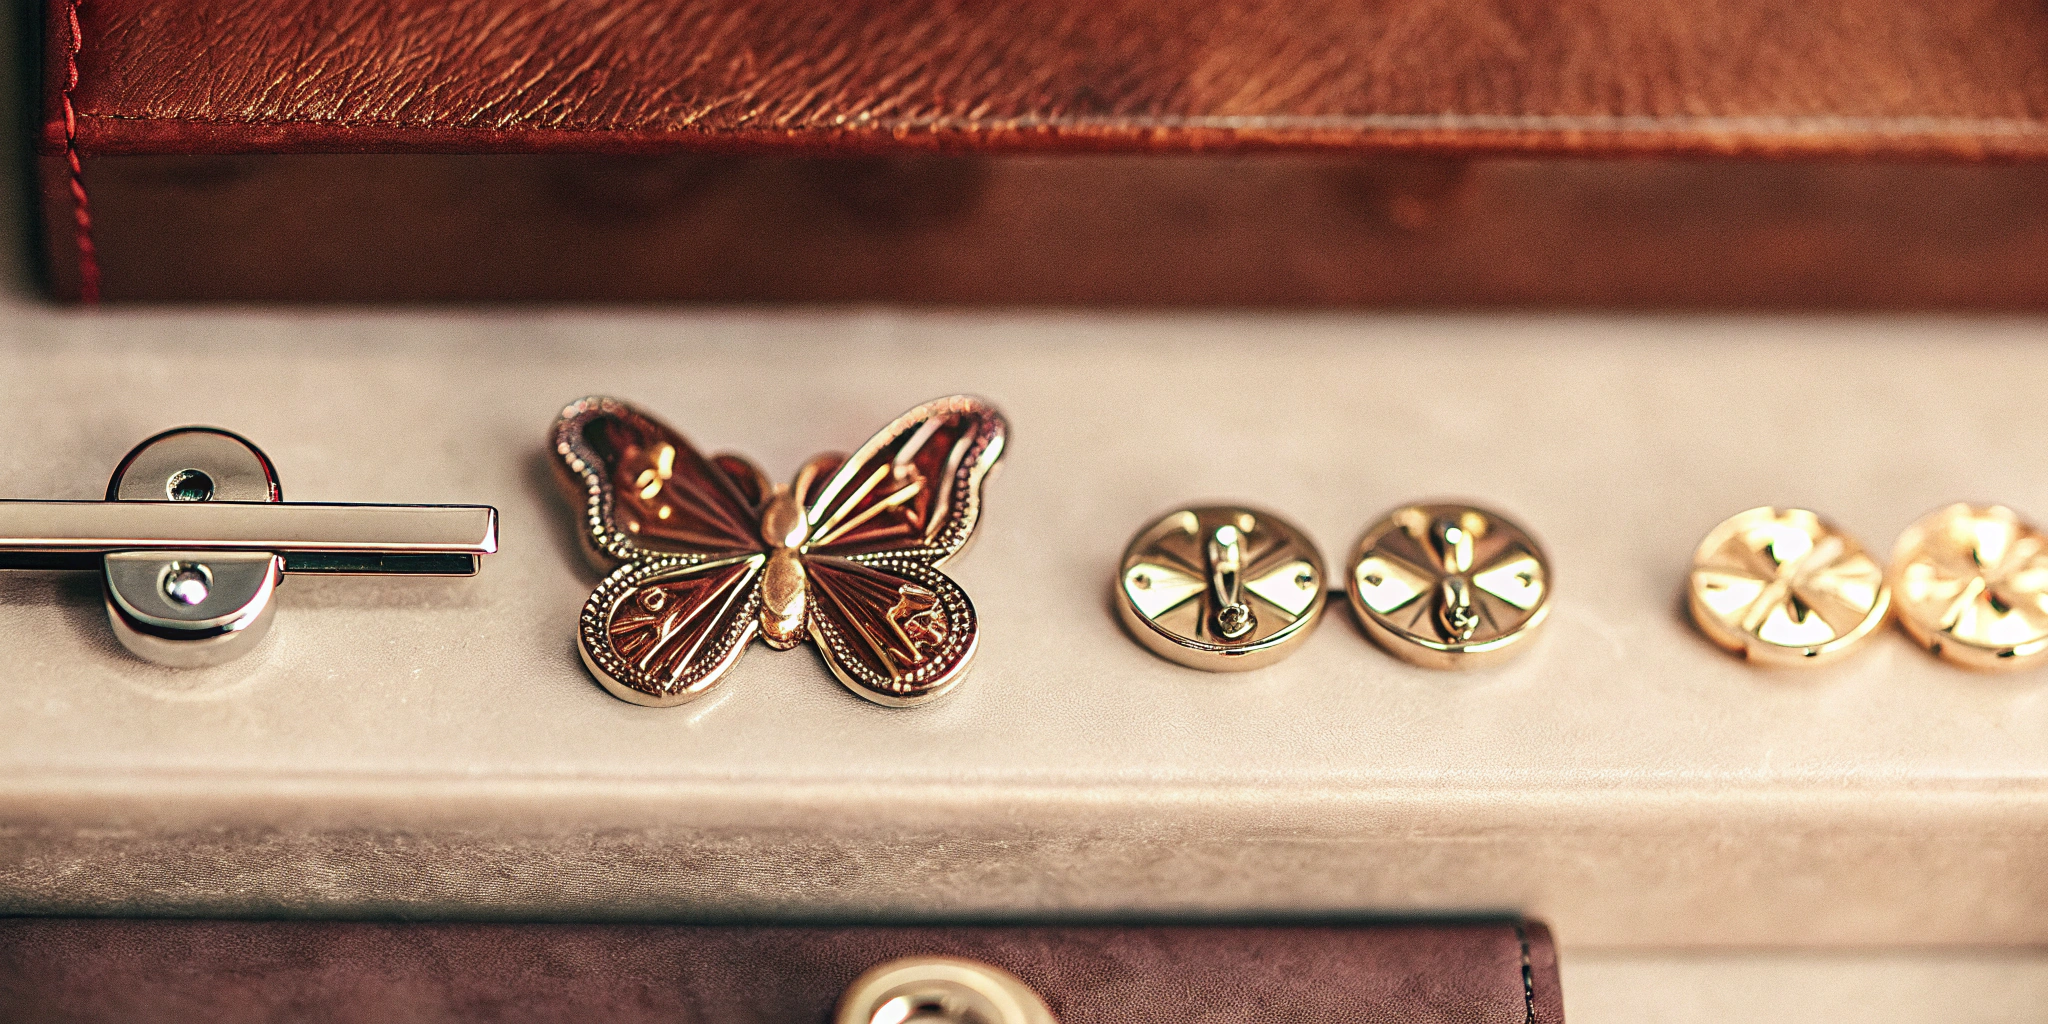
III. The Architecture of Attachments: The Back of the Pin
A pin is only as good as its ability to stay on a jacket. The Clutch (or backing) is a critical functional component often overlooked by beginners.
- Butterfly Clutch (Standard): The industry default. It uses two metal wings to grip the post. Pros: Cheap/Free. Cons: Unreliable; the wings can bend over time, causing the pin to fall off.
- Rubber Clutch: A dense PVC cap that grips the post via friction. Pros: Tighter grip than butterfly; comfortable against skin (no sharp metal edges); comes in varying colors (black, yellow, pink) to match the design. Verdict: The modern standard for high-quality creators.
- Deluxe Locking Clutch (Flathead): An internal spring mechanism locks onto the post groove. It cannot be removed unless the top cap is pulled. Pros: Ultimate security for expensive pins. Cons: Expensive upgrade (+$0.30/unit).
- Magnetic Backing: A two-piece strong magnet system. Pros: Zero damage to silk or expensive suits (no puncture holes). Cons: Adds thickness and cost; not suitable for thick leather jackets.
IV. Dimensionality: 3D Die Cast vs. 2D Layers
Standard pins are "2D," meaning they have flat raised metal lines and flat recessed color. However, product design can go deeper.
- 3D Mold (Die Cast): Instead of flat lines, the metal is sculpted like a statue. It has rounded curves and true depth. This is typically done without enamel color (Antique Gold/Silver finish) to highlight the shadows and highlights of the sculpture. Ideal for: Faces, skulls, animals with fur texture.
- Pin-on-Pin: A premium technique where two completely finished pins are glued or soldered together. Unlike a spinner, they don’t move. It creates a massive sense of depth and complexity that a single mold cannot achieve. Ideal for: Frames, elaborate logos, or character overlapping.
V. Packaging as a Product Component
In the retail environment, the pin is not the only product; the presentation is part of the SKU.
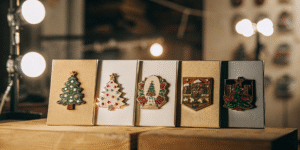
- Backing Cards: The standard retail vehicle. A 300gsm+ cardstock card. High-end brands use Gold Foil Stamping or Spot UV on the card to match the pin’s quality.
- Laser Etching (Backstamps): A critical anti-counterfeit feature. The back of the pin is not smooth but laser-etched with the brand’s logo or the "Limited Edition" number (e.g., 001/100). This transforms a generic item into a branded asset.
Frequently Asked Questions (Product Focus)
Q: How many posts (needles) should a pin have?
A: The Two-Post Rule: Any pin larger than 1.5 inches OR any pin that is top-heavy needs two posts. A single post acts like a pivot point, causing the pin to spin upside down on the jacket. Two posts lock the orientation.
Q: Does "Hard Enamel" allow for 3D sculpting?
A: Generally, no. Hard enamel requires grinding the surface flat. If you want 3D rounded metal textures, you usually have to sacrifice the enamel and go with an all-metal Antique finish, or use Soft Enamel which sits lower than the metal lines.
Q: What is the lifespan of a Glow-in-the-Dark pin?
A: The "charge" (glowing time) lasts typically 15-30 minutes after exposure to light. The chemical property of the phosphor powder itself can last for 10+ years without degrading significantly.